Last updated October 31, 2026
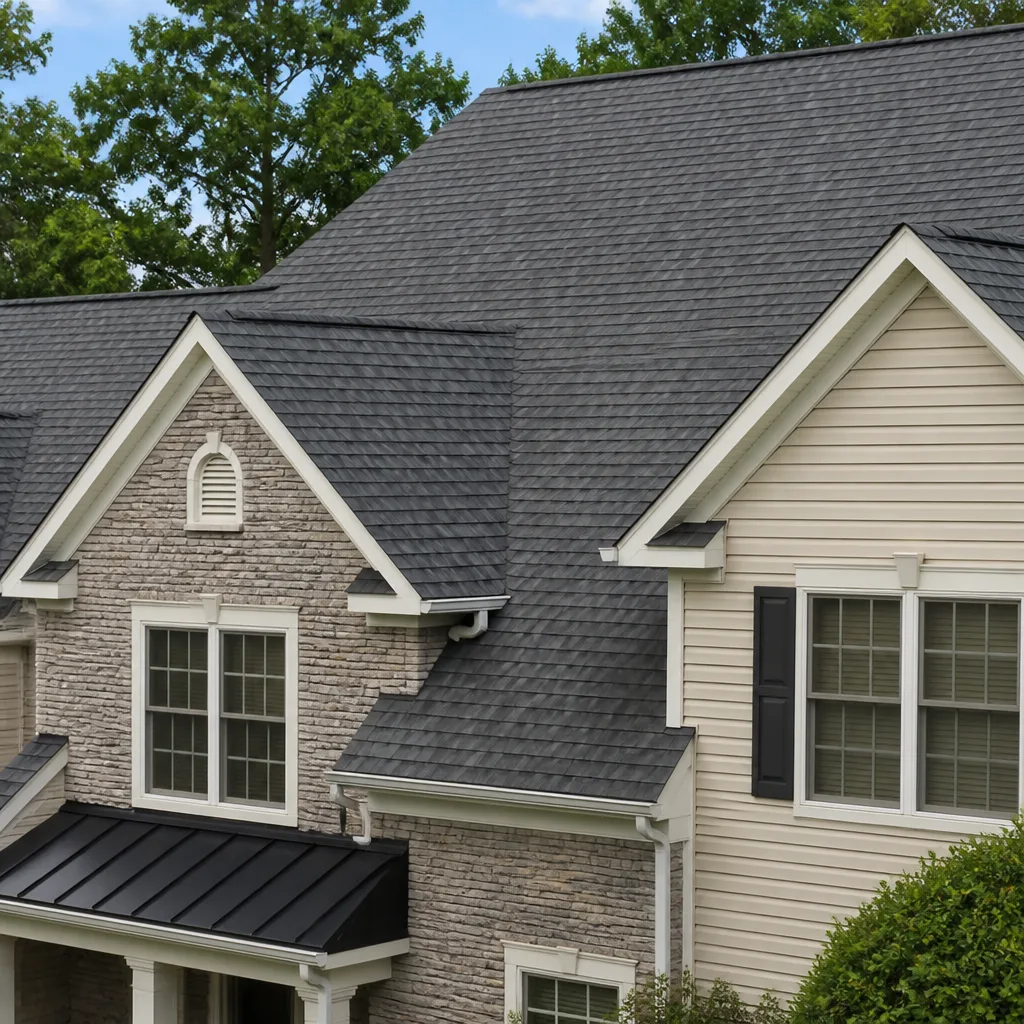 Architectural shingles
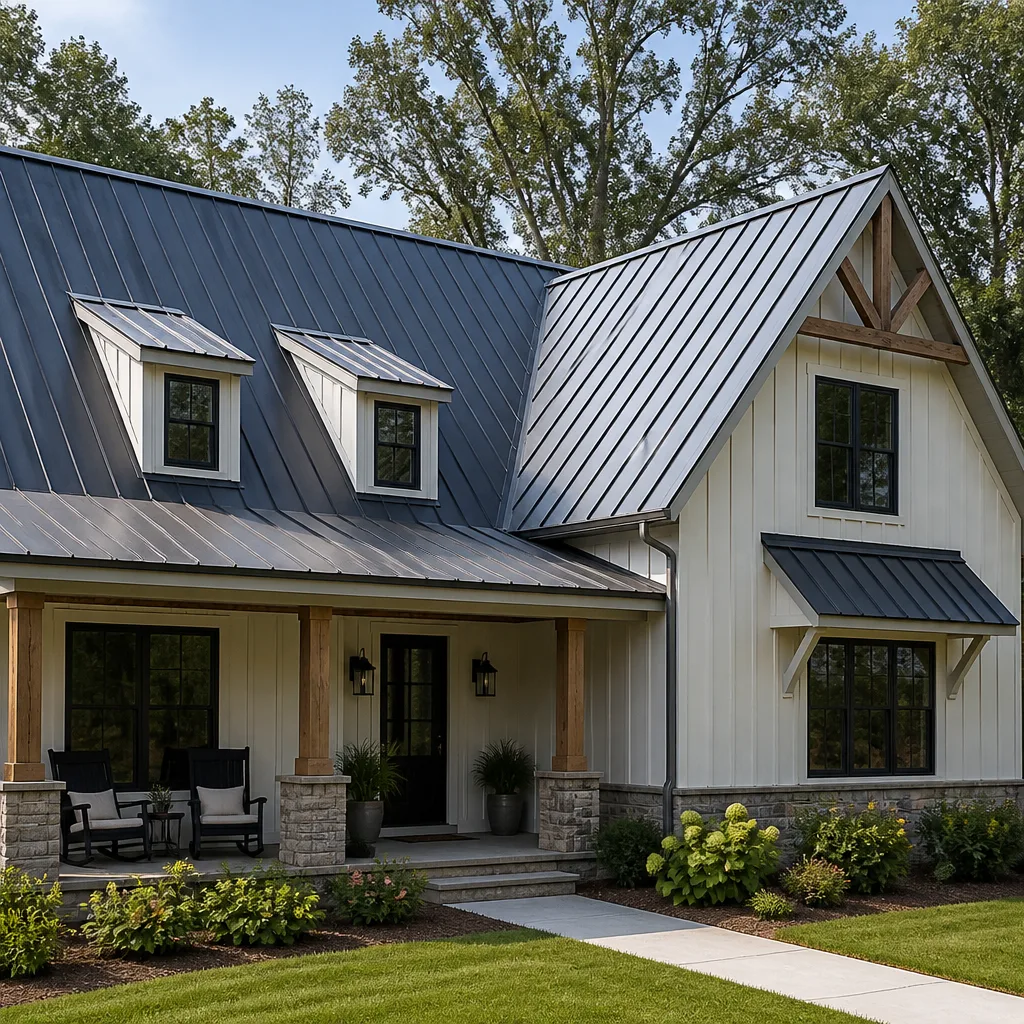 Metal roofing
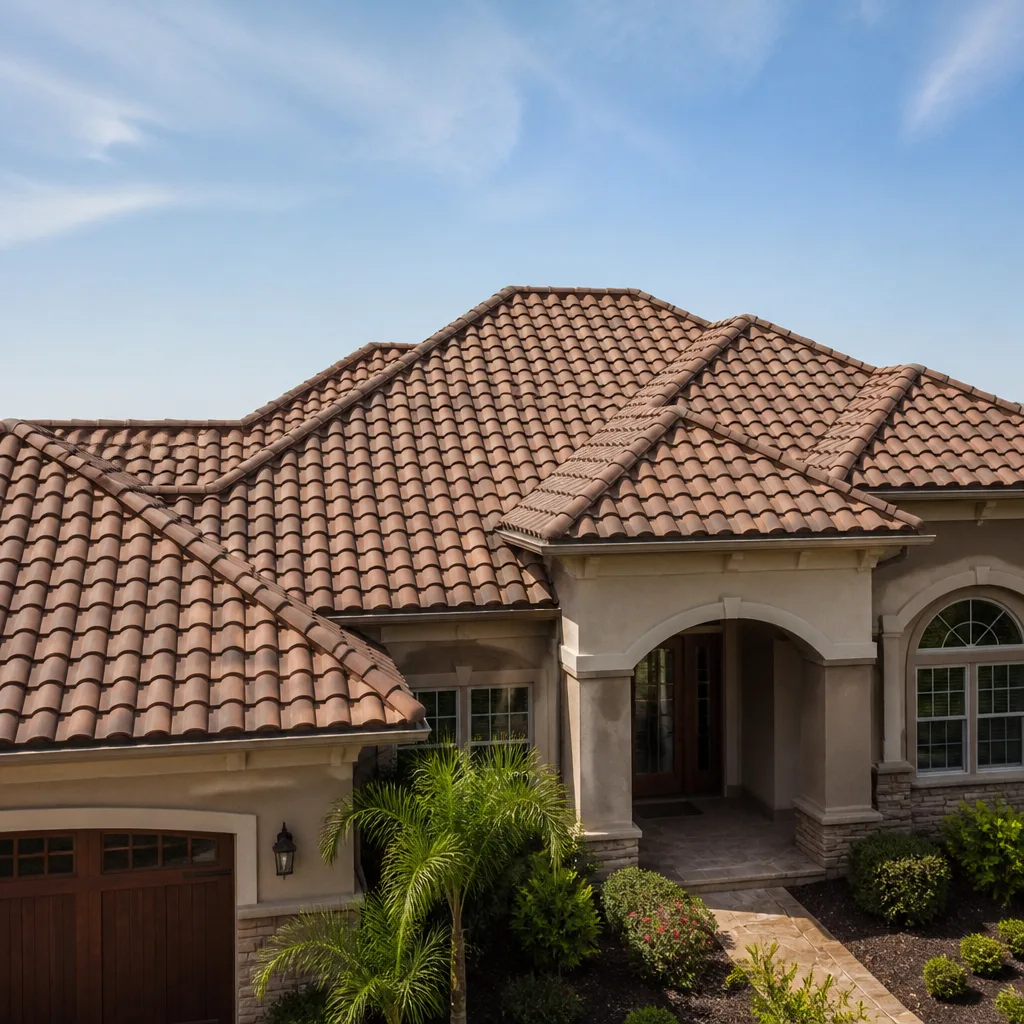 Tile roofing
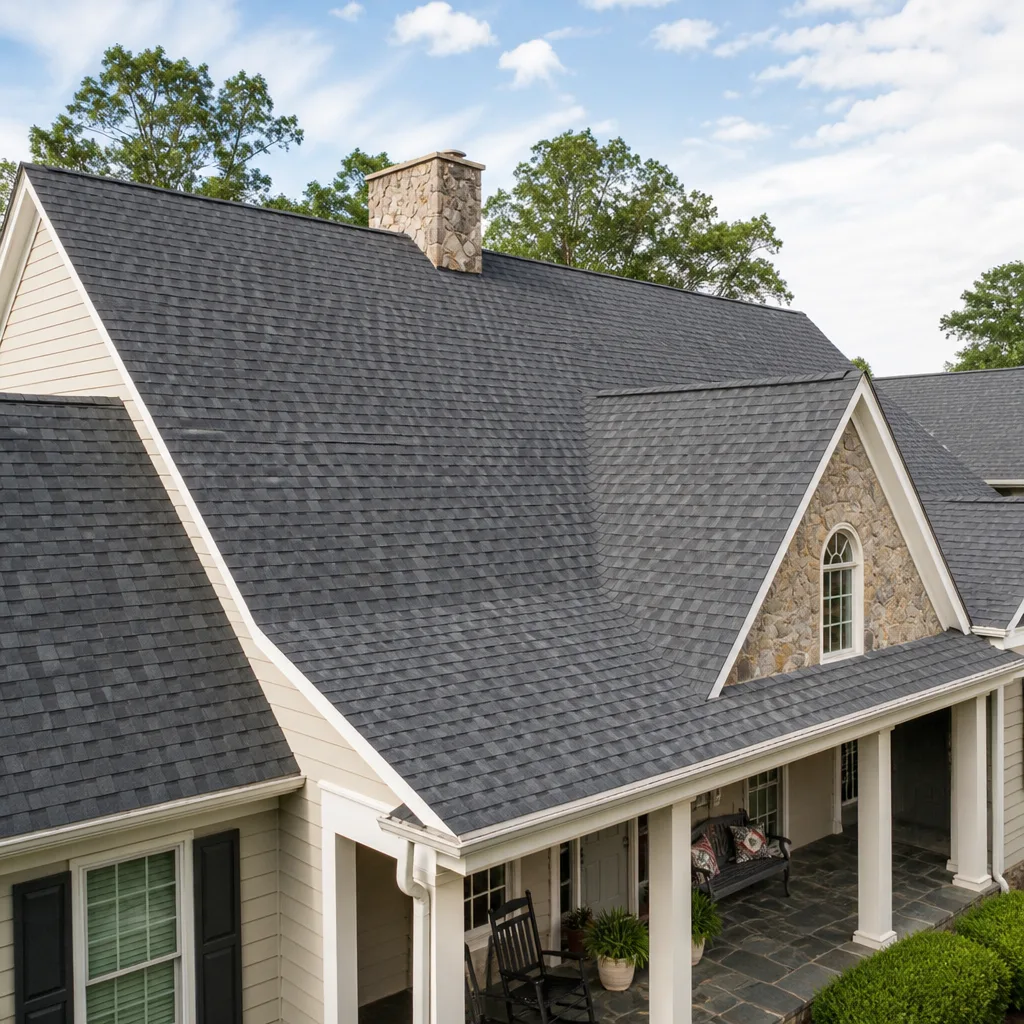 GAF
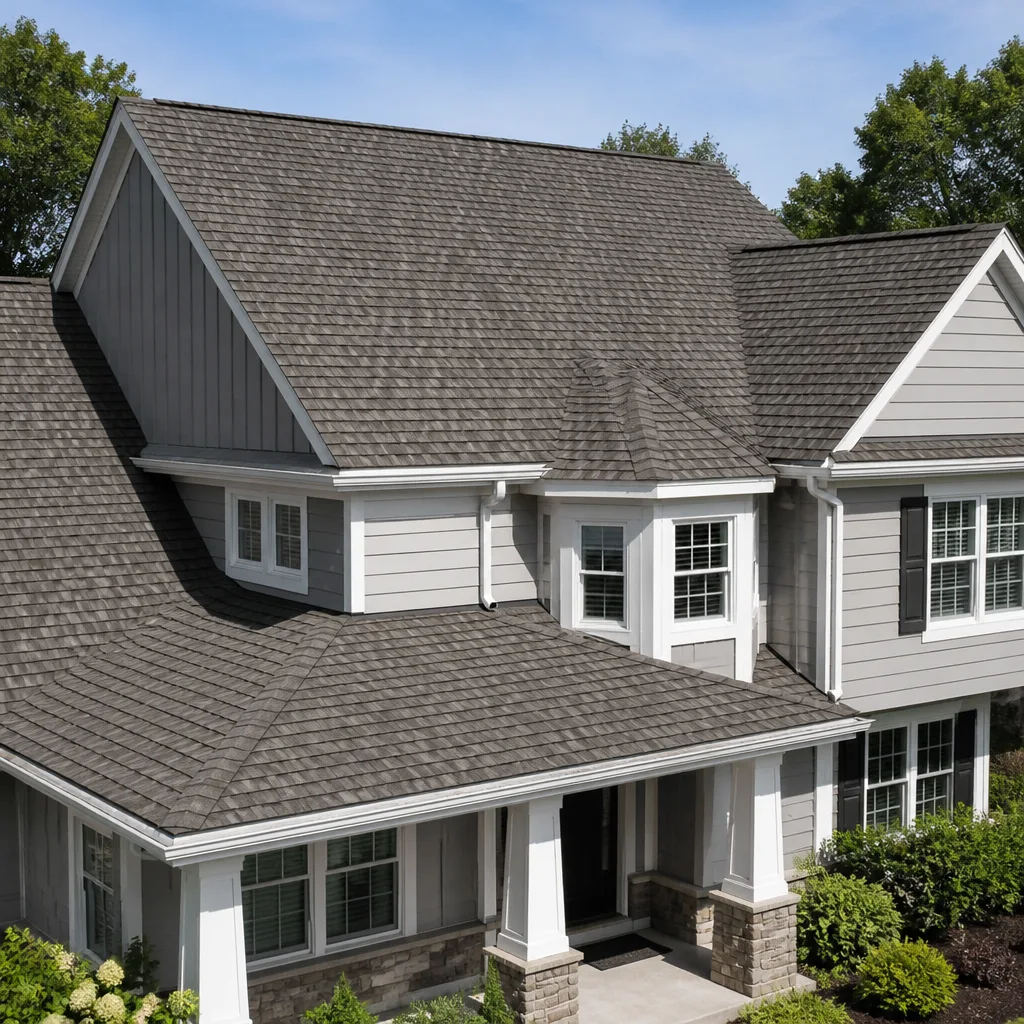 Owens Corning
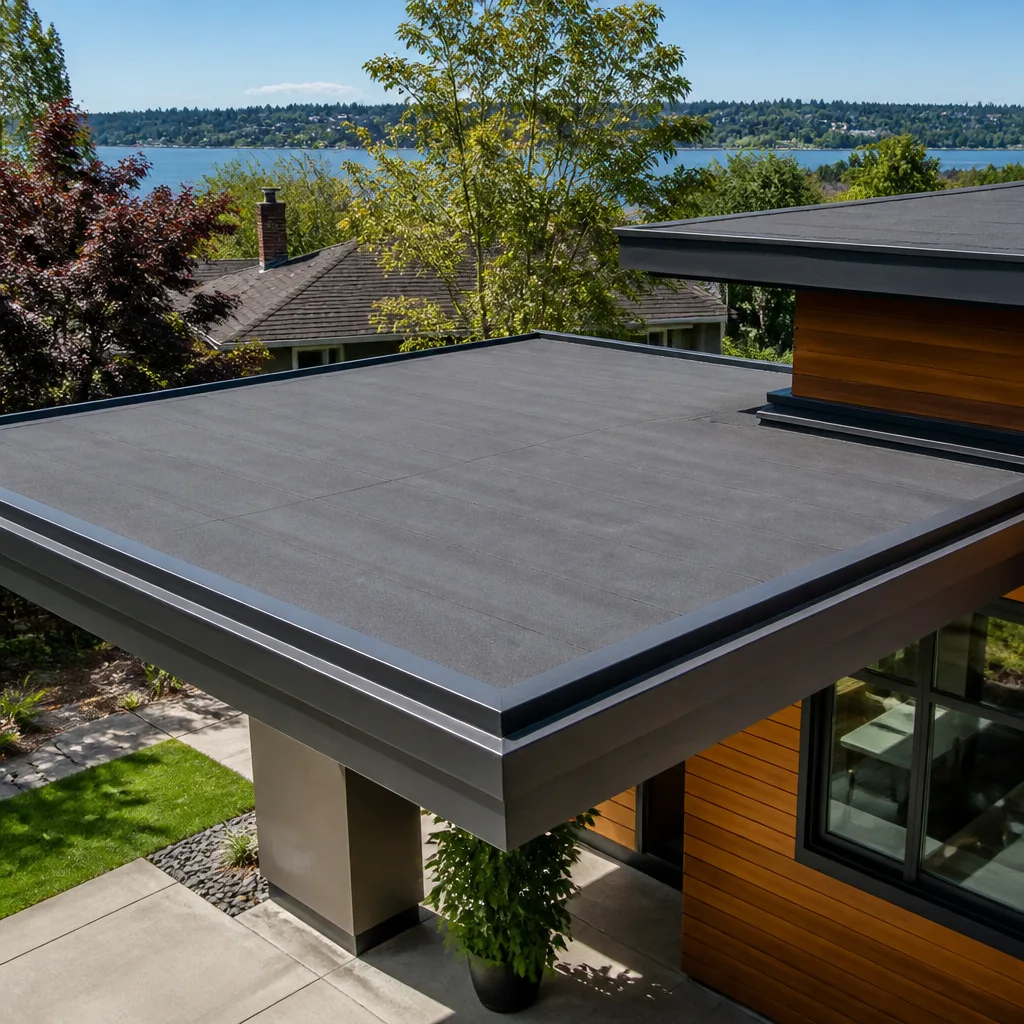 Flat & low-slope
Free roof inspection with deck photos before we talk money - GAF and Owens Corning certified installation
Roof Repair Troubleshooting: Common Problems and How to Fix Them
The leak stain on your ceiling is almost never directly below the actual breach. Water travels along rafters and decking for three to eight feet before it drops, which is why so many “fixed” roofs leak again after the first repair. The patch addressed the symptom, not the source. This guide teaches you to trace visible damage back to its true origin point using the roof’s geometry, the stain’s location, and what you find in the attic. We’ve applied this diagnostic method on hundreds of roofs across Burbank, where the combination of intense summer heat and rare but heavy winter rains creates a specific set of failure patterns we’ll walk through below.
Quick Answer
Roof Repair services start with troubleshooting: mapping the leak stain in your ceiling back to its probable entry point, then confirming that origin in the attic before touching anything on the roof surface. Most common residential problems (blistering, lifted flashing, cracked shingles, ridge cap failure, skylight weeping, soffit staining) trace back to one of six underlying causes: trapped moisture, sealant failure, impact damage, wind uplift, bad original flashing, or inadequate ventilation. The fix depends entirely on which cause you’re dealing with, not on the visible symptom itself.
Styles & brands we work with
Table of Contents
- The Water-Travel Principle: Why Your Ceiling Stain Lies
- Why Attic Inspection is Step One
- Symptom-to-Cause Matrix: Six Problems and Their Real Origins
- Repair or Replace: The Thresholds That Decide
- Two Safe Temporary Fixes Before Help Arrives
- Three DIY Moves That Void Manufacturer Warranties
- How Burbank’s Climate Shapes Roof Failure
The Water-Travel Principle: Why Your Ceiling Stain Lies
Here’s the core insight most troubleshooting guides miss: water on a roof behaves like water on a table. It runs. It follows the path of least resistance, which on a pitched roof means downhill along the decking, sideways along rafter edges, and down any seam or penetration it encounters. By the time water appears as a stain on your ceiling, it has traveled three to eight feet from where it entered.
Here’s how to trace it back.
- Mark the stain. Look at the ceiling stain. Note its exact position relative to walls, windows, and ceiling fixtures.
- Determine the roof slope direction. Stand outside and identify which way your roof slopes. Water entering on the uphill side of a slope runs downhill before dropping.
- Map the stain upward. If your ceiling is on the top floor, the water entered somewhere uphill from the stain, not directly above it. Visualize a line running from the stain up the slope angle of the roof.
- Account for penetrations. Any vent pipe, chimney, skylight, or valley located within that uphill zone is a prime suspect, even if it’s six feet away from the stain.
- Check the attic. Go into the attic with a flashlight. Look at the decking directly above the stained ceiling area. Then trace uphill along the decking looking for water marks, dark staining, or damp spots.
We saw a Burbank homeowner in the Verdugo foothills spend $1,800 on two separate patch jobs for a stain above the living room. The actual entry point was a cracked pipe boot at the roof penetration near the ridge line, eight feet uphill from the stain. A $40 boot replacement fixed it permanently. The patches were fine; the diagnosis was wrong.
Why Attic Inspection is Step One
Before any reputable roofing contractor recommends a repair, they look at the attic. Not the insulation, not the visible ceiling stain, but the underside of the roof decking. The decking tells the truth about where water enters, how long it’s been entering, and whether there’s a larger problem hiding behind the drywall.
Here’s what to look for on the decking specifically:
- Dark streaks or stains on the wood. These mark the water’s actual travel path. Follow them uphill to the entry point.
- White crystalline residue on rafters. This is efflorescence, mineral deposits left when water evaporates. It means intermittent moisture, often from a small leak that dries between rains.
- Black mold-like spots on decking or rafters. Consistent moisture. This points to an active, ongoing leak, not a one-time event.
- Soft or spongy decking. Push gently with a screwdriver handle (not the point). If it gives, the wood has begun to rot. A patch shingle repair will not solve this; the decking section needs replacement.
- Daylight visible through the decking. If you can see light through a gap or crack in the decking, water can enter through the same opening.
- Rust on the nails protruding through the decking. Condensation or trapped moisture near the roof plane. This can indicate a ventilation problem, covered in the soffit stain section below.
In Burbank attics, the problem is frequently disguised by blown-in insulation. Insulation sits on the ceiling, not the decking, so it won’t show roof leaks until they’re severe. That’s exactly why you look at the wood above your head, not the material under your feet. If your attic has a vapor barrier or radiant barrier against the rafters, you’ll need to pull it back carefully in the suspected zone to see the decking directly.
Symptom-to-Cause Matrix: Six Problems and Their Real Origins
Every visible roof symptom maps to an underlying cause. Here are the six most common residential issues we encounter, what they look like, and what’s actually happening underneath.
1. Blistering Shingles
What you see: Raised bumps or bubbles on the shingle surface, sometimes with small holes where the granule layer has popped open.
The real cause: Trapped moisture inside the shingle mat that heats up and expands. This happens when shingles are installed over a wet deck, or when attic ventilation is inadequate and moisture gets trapped under the shingle layer. Burbank’s summer heat cycles (days in the high 90s with rapid evening cooling) accelerate this expansion and contraction.
The fix: Isolated blisters on a young roof may be a manufacturing issue and covered under the shingle warranty. Widespread blisters point to a ventilation defect, not a shingle defect. Fix the ventilation first (ridge vents, soffit intake), then address the damaged shingles. At Marquis Roof Repair, we investigate before recommending replacement; blistering rarely requires a full re-roof unless the decking underneath has also sustained moisture damage.
2. Lifted or Buckled Flashing
What you see: Metal flashing at the chimney, walls, or skylight edges that is pulling away from the roof surface or showing gaps where sealant has crumbled.
The real cause: Sealant failure. The caulk or sealant used in the original installation breaks down under UV exposure, typically within 5 to 10 years in Burbank’s sun. Once the sealant cracks, wind lifts the flashing edges, and water walks right under.
The fix: Remove the old sealant completely, reset the flashing, and apply a high-quality urethane sealant rated for roofing. Do not simply caulk over failing caulk; it delaminates. For chimneys, check the step flashing under the shingles as well; lifted surface flashing is often the second symptom, with degraded step flashing being the first.
3. Cracked Field Shingles
What you see: Shingles with straight-line cracks running across the exposure, or corners broken off and lying in the gutter.
The real cause: Two possibilities, and they require different responses. Straight cracks running through multiple shingles in a row indicate thermal stress: the shingles expanded in heat and cracked when they contracted. This is common on older three-tab shingles and on roofs where the shingles were installed too tightly. Corner breaks, on the other hand, indicate wind uplift: gusts catch the shingle corner, flex it repeatedly, and snap it off.
The fix: Individual cracked shingles can be replaced if the surrounding shingles are intact. If more than 15 percent of the field shingles show cracking, you’re past the point of cost-effective repair. We recommend a full inspection to determine whether the roof has hit the replacement threshold, which we discuss below. On the material side, newer architectural shingles from GAF and CertainTeed use reinforced mats that resist thermal cracking far better than older three-tab products.
4. Ridge Cap Failure
What you see: Ridge cap shingles cracked, lifting, or missing along the peak of the roof; nails exposed along the ridge line.
The real cause: The ridge caps take the most wind of any roof component while also being nailed in the most exposed position. Once a ridge cap nail loosens, the shingle lifts, the next wind storm works it loose further, and water enters directly along the peak. In Burbank, the Santa Ana wind events in fall and early winter make ridge caps the single most common wind-damage point we see.
The fix: Replace damaged ridge caps with new cap shingles or a continuous ridge vent cap if the roof needs ventilation improvement anyway. The repair itself is straightforward; the important diagnostic step is checking the entire ridge line, not just the visible damage. If one ridge cap lifted, the ones adjacent to it have likely been flexed too.
5. Skylight Weeping
What you see: Water streaks down the inside of the glass, or staining on the drywall around the skylight well.
The real cause: In our experience, about 70 percent of skylight leaks are not the skylight unit itself. They are failures at the flashing kit: the metal pieces connecting the skylight frame to the roof. The remaining 30 percent are condensation from bathroom or kitchen humidity hitting the cold glass, or the skylight’s own seal failing with age.
The fix: Diagnose before replacing the skylight. Inspect the flashing around the exterior of the skylight for loose edges, missing sealant, or shifted metal. If the flashing is intact, run a simple condensation test by wiping the interior glass and seeing where moisture forms. Persistent interior-only moisture in a skylight over a shower or kitchen points to ventilation, not a leak. A replacement skylight won’t fix a flashing problem, and the $1,200 to $2,500 spent on a new unit is wasted if the flashing kit was the culprit. This is the kind of honest diagnosis homeowners get from a Roof Inspection in Burbank before they spend on the wrong fix.
6. Soffit Staining
What you see: Dark brown or black streaks along the underside of the eaves, often following the shape of the framing.
The real cause: Not a leak, but a ventilation failure. Warm, moist air rises into the attic, meets the cooler underside of the roof deck near the eaves, and condenses. The condensate runs outward, and gravity carries it to the lowest point: the soffit. As it dries, it leaves residue that darkens over time. In Burbank homes with older gable-style vents and no soffit intake, this pattern is common.
The fix: Correct the attic ventilation balance: add intake area at the soffits, ensure existing intake vents are not blocked by insulation, and verify that exhaust area (ridge vent, box vents, or gable vents) is adequate. If one vent type is missing, condensation persists. Cleaning the soffit stains without fixing the airflow is a temporary cosmetic fix at best.
Repair or Replace: The Thresholds That Decide
The honest answer to “can this be repaired?” comes down to three factors: the age of the roof, the extent of the damage, and the condition of the decking. Here are the thresholds we use in Burbank, where roofs aged 8 to 15 years are our most common repair customers and roofs over 20 years are our most common replacement customers.
When Repair Makes Sense
- Roof age under 12 to 15 years. The shingles still have structural life. Individual shingle replacement blends acceptably.
- Damage is localized. One vent pipe, one chimney side, one ridge section, one skylight flashing.
- Decking is solid. The attic inspection shows dry, sound wood with no rot or delamination.
- Shingle material is current and available. This is where our seven-brand access matters. We can match shingle type, color, and profile from the GAF, CertainTeed, Owens Corning, IKO, Atlas, Tamko, or Boral lineups. Homeowners don’t face a “close enough” patch because the roofer only carries one brand.
When Repair Only Defers the Problem
- Roof age over 18 to 20 years. The shingle adhesive has degraded. You will chase leaks around the roof in sequence, each new patch adjacent to the last.
- Widespread granule loss. Walk along the gutter line. If you see large accumulations of granules, the shingle surface has degraded extensively, and patch shingles won’t match or bond well.
- Multiple simultaneous leaks. Two or more active entry points on a roof over 15 years old indicates systemic material failure, not an isolated incident.
- Decking rot, even in one area. If the decking is rotted in one zone, water has been entering for a long time. The roof system has failed; replacing only the visible shingles leaves the surrounding compromised wood in place.
Here’s how we frame the decision for a Burbank homeowner: if the cost to repair properly exceeds 25 to 30 percent of a full replacement, and the roof has less than 5 years of expected life remaining, replacement is the financially sound choice. We’ll show you the math either way. Our business is named after repair for a reason; we don’t push replacement when repair serves the homeowner better. When we do recommend Roof Replacement in Burbank, it’s because the threshold has genuinely been crossed.
Two Safe Temporary Fixes Before Help Arrives
If you’ve located an active leak and can’t get a contractor out the same day, there are two things a careful homeowner can do to slow the damage. Both are designed to be temporary, and neither requires getting onto the roof surface itself.
- Interior water control. Place a bucket under the drip, but don’t let it sit flat against the ceiling. Cushion it with a folded towel so the water doesn’t splash and spread. Better: if the ceiling is bulging, pierce the bulge at its lowest point with a screwdriver to release the pooled water. This prevents the drywall from collapsing under water weight, which is a much larger repair. Water that drains where you choose goes into a bucket; water that collapses the ceiling goes everywhere.
- Attic water diversion. If you can safely access the attic and locate the drip on the decking, you can redirect the water. Place a wide, shallow container (a plastic storage bin lid works well) directly under the drip on top of the insulation. Then run a heavy string or cotton rope from the drip point to the container; water will follow the rope instead of dripping through the insulation onto the drywall. This is a proven short-term method, but it is not a fix. It manages the symptom until a roofer reaches the source.
We do not recommend tarping a roof yourself, walking on any roof with a pitch steeper than 4:12, or applying roof cement or sealant to a wet surface. Falls from roofs cause thousands of serious injuries every year, and temporary sealant on a wet surface fails, often making the final repair more difficult by contaminating the bonding area. For genuine emergencies like an actively leaking roof during a Burbank storm, call a licensed roofer for an emergency response. See our Roofing Emergency Preparedness Guide for Burbank Homes to plan ahead.
Three DIY Moves That Void Manufacturer Warranties
Most shingle manufacturers issue warranties covering product defects. But here’s what the fine print rarely makes obvious: three common homeowner “repairs” will void that warranty completely, leaving you with no manufacturer coverage when a real defect appears later.
- Patching with mismatched or off-brand shingles. Manufacturer warranties apply to roofs installed as a complete system with that manufacturer’s products. If a homeowner patches a Tamko roof with a Boral shingle, the warranty on the original roof may be voided because the system is no longer pure. We see this fairly often when a previous repair was done by a handyman using whatever shingle was on sale.
- Applying roof coatings or sealants over shingles. Spray-on or roll-on roof coatings applied to asphalt shingle roofs are a common “fix” for granule loss. Manufacturer warranties specifically exclude roofs treated with aftermarket coatings, and for good reason: the coatings trap moisture in the shingle mat and accelerate deterioration. Roofs “sealed” this way rarely last as long as roofs left alone.
- Installing anything over the existing roof without the manufacturer’s written approval. A second layer of shingles over an existing layer, or installing solar panels, satellite mounts, or other penetrations without following the manufacturer’s installation specifications, can void coverage. The manufacturer’s requirement is that their roofing system be installed over a dry, sound deck in a single layer with approved accessories.
Here’s the principle in plain language: the warranty covers the roof as designed, not the roof as modified. Homeowners who want to preserve warranty coverage should use a licensed, manufacturer-authorized contractor for any work beyond simple debris removal. At Marquis Roof Repair, we have authorization to install products from seven major manufacturers including Tamko and Boral, and our repairs follow each brand’s published installation specifications so warranty language stays intact. This matters when a defective shingle needs replacement five years from now and the manufacturer asks who touched the roof.
How Burbank’s Climate Shapes Roof Failure
Burbank sits in a specific climate zone with a specific set of roof stressors. Understanding these helps you anticipate what to watch for on your own roof.
Summer heat is the silent culprit. Burbank regularly sees summer highs above 95 degrees. Roof surface temperatures in that weather run 40 to 60 degrees hotter. Shingle asphalt softens and expands. Every evening, the temperature drops. The daily expansion and contraction cycle fatigues the shingle mat. This slow-motion stress is invisible until cracks appear, which is why older roofs in Burbank often fail in a pattern: small cracks first, then granule loss, then leaks during the next heavy rain.
Santa Ana winds attack the edges and ridges. The fall Santa Ana events, with gusts reaching 40 to 60 mph in the foothill neighborhoods, put immense pressure on ridge caps, eaves, and flashing edges. Any shingle already loosened by heat fatigue is finished off by wind. The lesson: after a significant Santa Ana event, check your ridge line from the ground with binoculars. Look for lifted caps, especially at the ends.
Rain arrives fast and leaves fast. Burbank’s rain comes in short, intense bursts rather than long, soaking wet periods. This has a diagnostic implication: a roof leak that appears 20 minutes into a heavy rain is usually at a penetration or flashing point where water volume overwhelms the seal. A leak that appears hours after rain has stopped is a slower path: water pooled on the decking and trickled through a small gap. The timing of when your leak appears tells you something about where it is.
Homes in the Burbank hills and Verdugo foothills face additional wind exposure, while homes in the flatlands deal more with heat accumulation and inadequate ventilation. If you’re unsure how your specific roof is aging, a Roof Repair in Burbank specialist can do a targeted diagnostic review rather than a sales presentation. We investigate before we recommend; it’s the principle we built the company on.
Common Mistakes to Avoid
- Sealing over the visible symptom instead of the source. Caulking a ceiling stain or patching a shingle directly above it without tracing the water travel path leaves the actual entry point open. The stain returns in the next rain.
- Checking only the roof surface, never the attic. A shingle that looks fine from a ladder can be hiding a trail of water on the decking underneath. Skipping the attic inspection means the diagnosis is a guess.
- Using silicone caulk on asphalt shingle surfaces. Silicone doesn’t adhere well to asphalt, and many shingle manufacturers list silicone as a contaminant that voids their warranty. Use urethane-based sealant made for roofing.
- Ignoring granule accumulation in gutters. Granules in the gutter mean the shingle surface is failing. Washing the granules away and moving on is ignoring the first objective sign that the roof is entering end-of-life.
- Nailing through shingles from the surface without sealing. Exposed nail heads are entry points. Any nail driven through a shingle into the decking must be covered with roofing sealant or it will eventually leak.
- Patching over rotted decking. A new shingle nailed into rotten decking won’t hold properly, and the rot will continue to spread underneath. The decking section must be cut out and replaced before the shingle goes on.
- Waiting for a big leak before doing anything. The most expensive repairs we see in Burbank are roofs that should have had a $600 flashing repair two years ago but got a $14,000 replacement instead because the decking rotted in the meantime. Early diagnosis is the cheapest tool in roofing.
See the difference
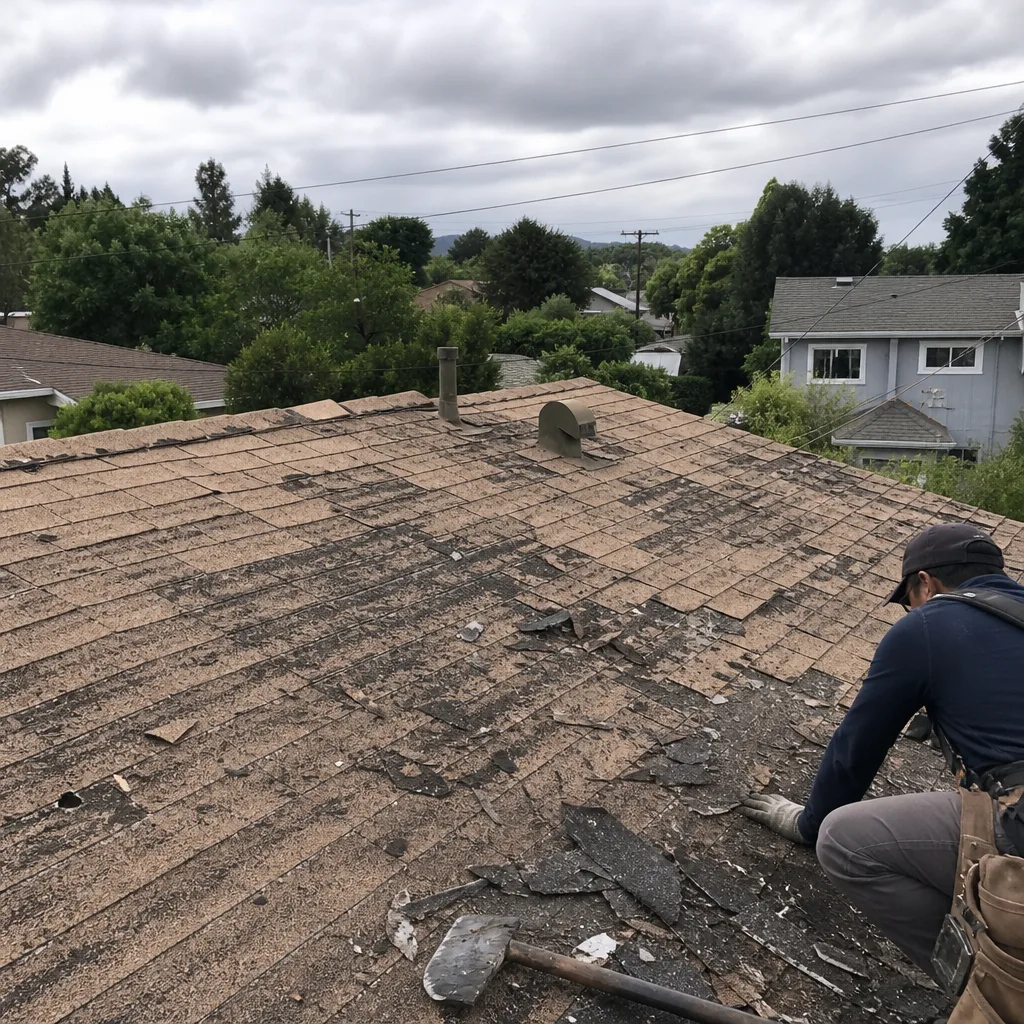 Before
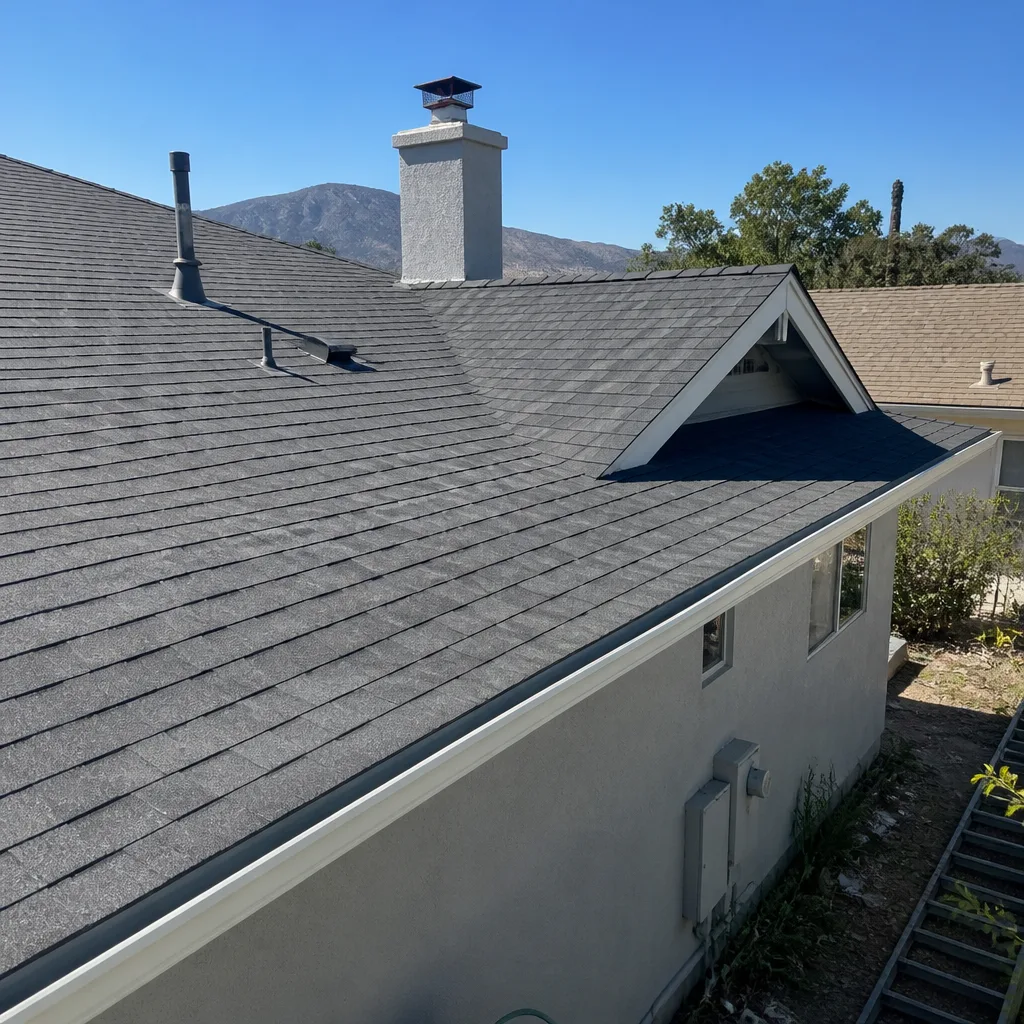 After
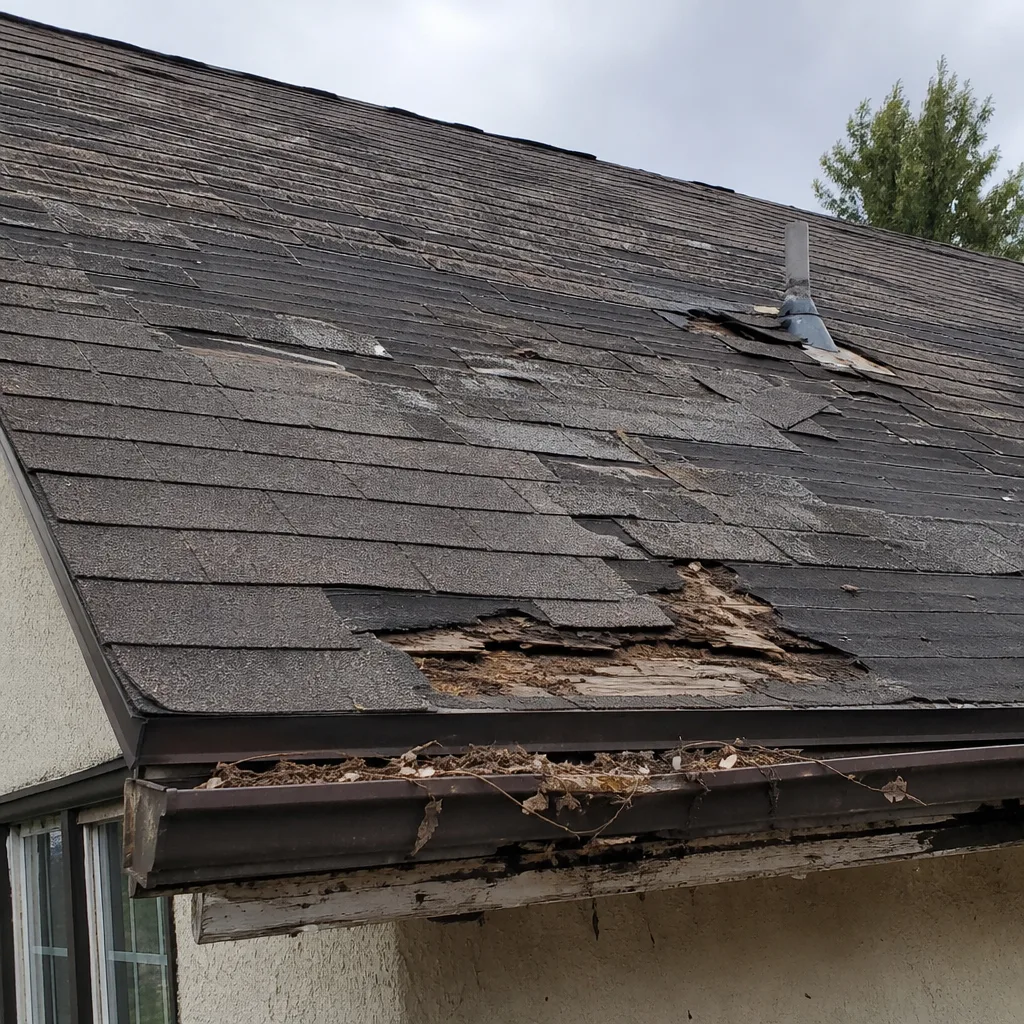 Before
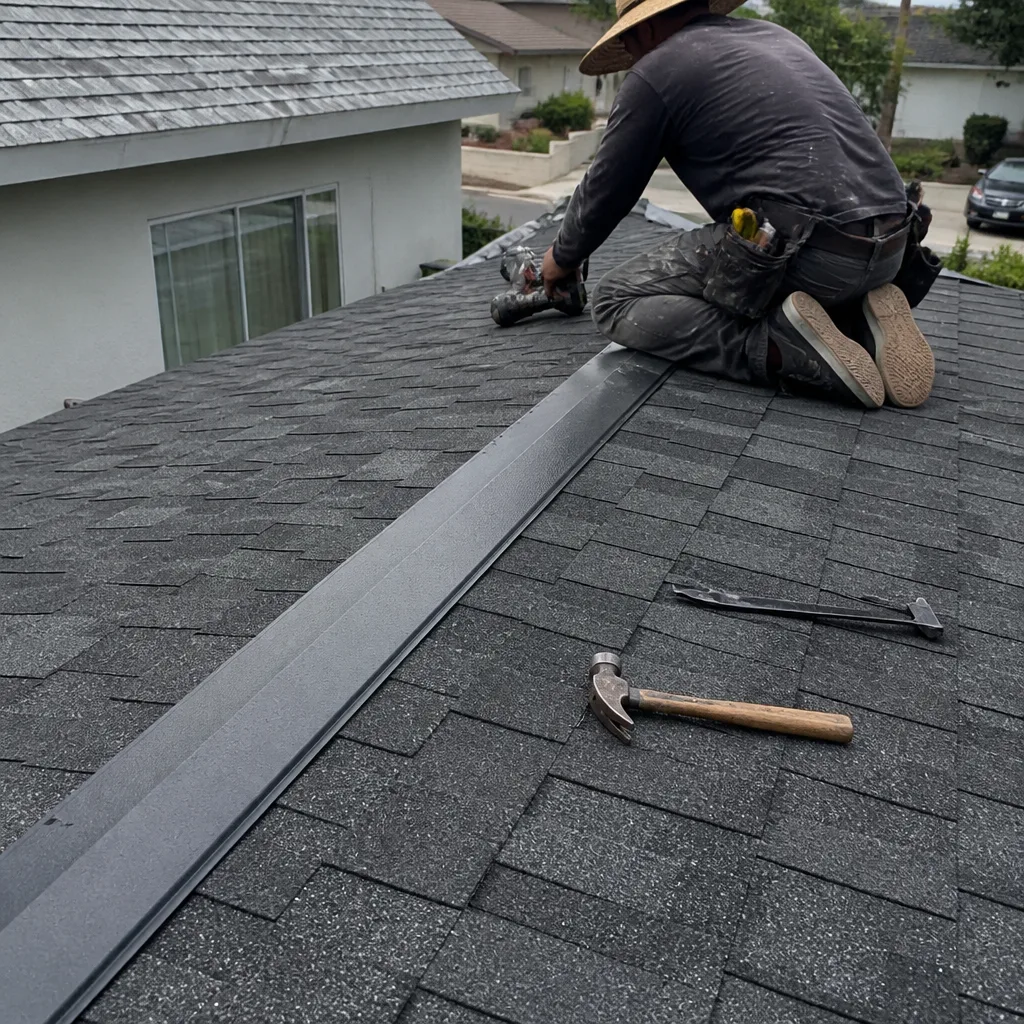 After
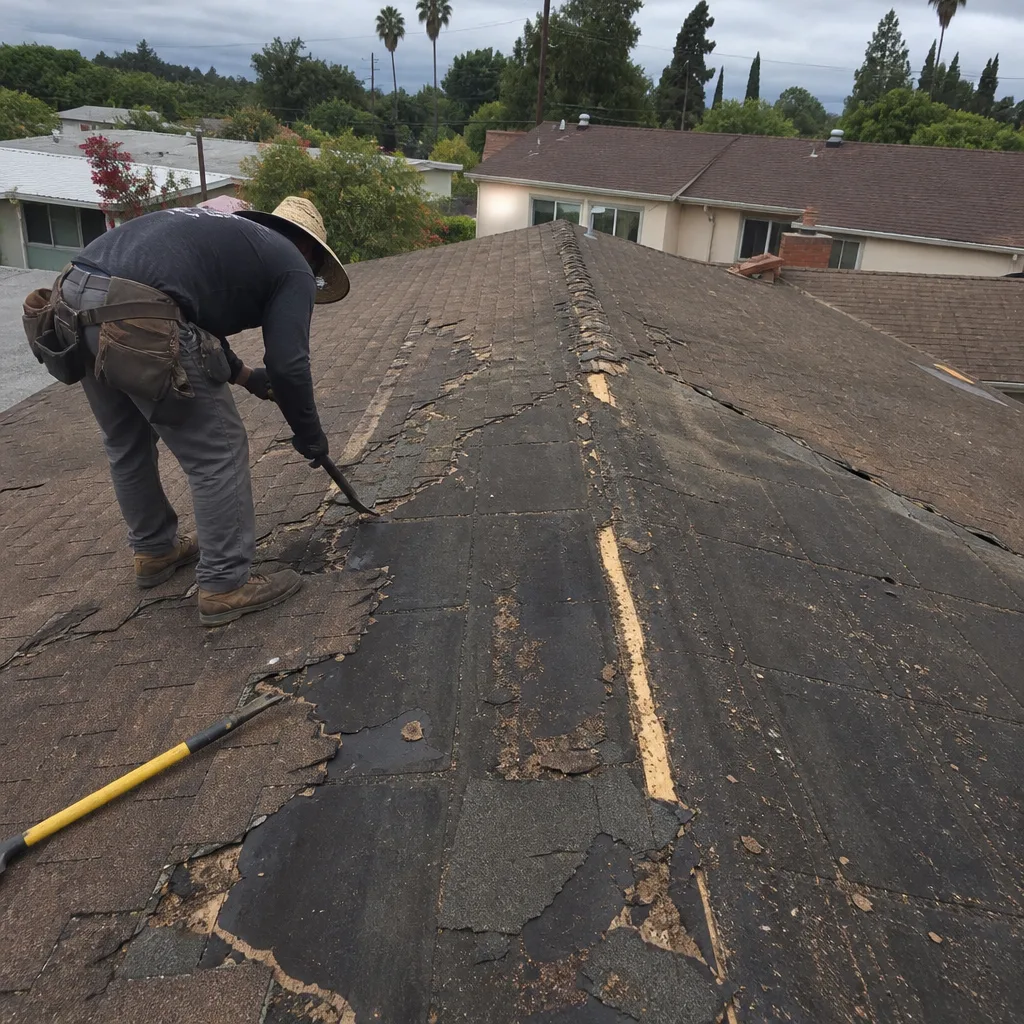 Before
 After
When to Call a Professional
Call a professional roofer if you can see active water entering the attic during rain, if the decking shows dark stains or soft spots, if multiple shingles are cracked or missing across a wide area, if your roof is over 18 years old and developing a leak for the first time, or if you’re not comfortable getting into the attic to look. These scenarios all point to problems that temporary measures won’t solve, and some point to systemic failure. In Burbank, the winter rain window from December through March puts aging roofs to the real test; if you’re seeing the first signs now, address them before the next storm. Marquis Roof Repair offers free estimates in Burbank; call (866) 705-2978 and we’ll do a full diagnostic inspection, show you what we find in the attic and on the roof, and give you a written line-item quote for repair or replacement. From first inspection to final shingle, you’ll have one point of contact for the entire roof lifecycle. Learn more at the Marquis Roof Repair home page.
Frequently Asked Questions
Mark the ceiling stain, then go into the attic and trace the water trail on the decking upward along the roof slope to the entry point. The leak is almost never directly above the stain; water runs along decking and rafters for three to eight feet before dropping. Follow the water marks on the wood, not the water mark on the drywall.
Typical Burbank roof repairs range from $350 to $800 for small flashing or shingle repairs, $600 to $1,200 for skylight flashing or vent boot replacement, and $1,500 to $3,500 for larger repairs involving decking replacement or multiple shingle sections. For a detailed breakdown, see our Roofing Cost Breakdown: The Burbank Homeowner’s Reference for 2026. Every roof is different, so exact numbers depend on what the attic inspection reveals. Call (866) 705-2978 for a free written estimate.
Roofs under 15 years old with localized damage and sound decking are usually repairable. Roofs over 18 to 20 years with multiple leaks, widespread granule loss, or rotted decking have usually passed the point where repair is cost-effective. We’ll show you the math on both options rather than pushing one over the other.
A properly executed repair on a repairable roof should last the remaining life of the roof, typically 10 to 20 years. Repairs that only address the symptom without fixing the cause often fail within one or two rain seasons. The difference comes down to diagnosis quality, which is why we spend as much time in the attic as we do on the roof surface.
Minor roof repairs (replacing isolated shingles, resealing flashing) generally do not require permits in Burbank. Larger structural repairs involving decking replacement or any work exceeding a certain square footage threshold may require a building permit from the City of Burbank. We handle the permitting on all Roof Replacement in Burbank projects and on repairs that cross the threshold; our work is always brought to code.
Heavy rain overwhelms the roof’s drainage capacity. Water backs up under shingles at valley intersections, behind chimneys, or at any point where water volume exceeds the flashing’s ability to divert. The leak point is often higher on the roof than expected, because the backup effect pushes water into places a light rain never reaches.
The Bottom Line
Roof troubleshooting is a diagnostic skill, not a patch job. The stain on your ceiling is a clue, not a target. The real work is tracing that clue through the attic to the actual entry point, identifying the underlying cause (heat fatigue, wind damage, sealant failure, ventilation problems, or installation defects), and making an honest call between repair and replacement. If you take one thing from this guide, make it this: look in the attic before touching anything on the roof. In Burbank, where the heat and Santa Ana winds work on your roof every day of the year, early diagnosis is the difference between a $400 repair and a $14,000 replacement. Marquis Roof Repair offers free estimates, honest diagnosis, and access to seven manufacturer lines so the right material is always available. Built to the Marquis standard, from first inspection to final shingle. Call (866) 705-2978 to schedule a free estimate.
Written by the team at Marquis Roof Repair, serving Burbank since 2014.